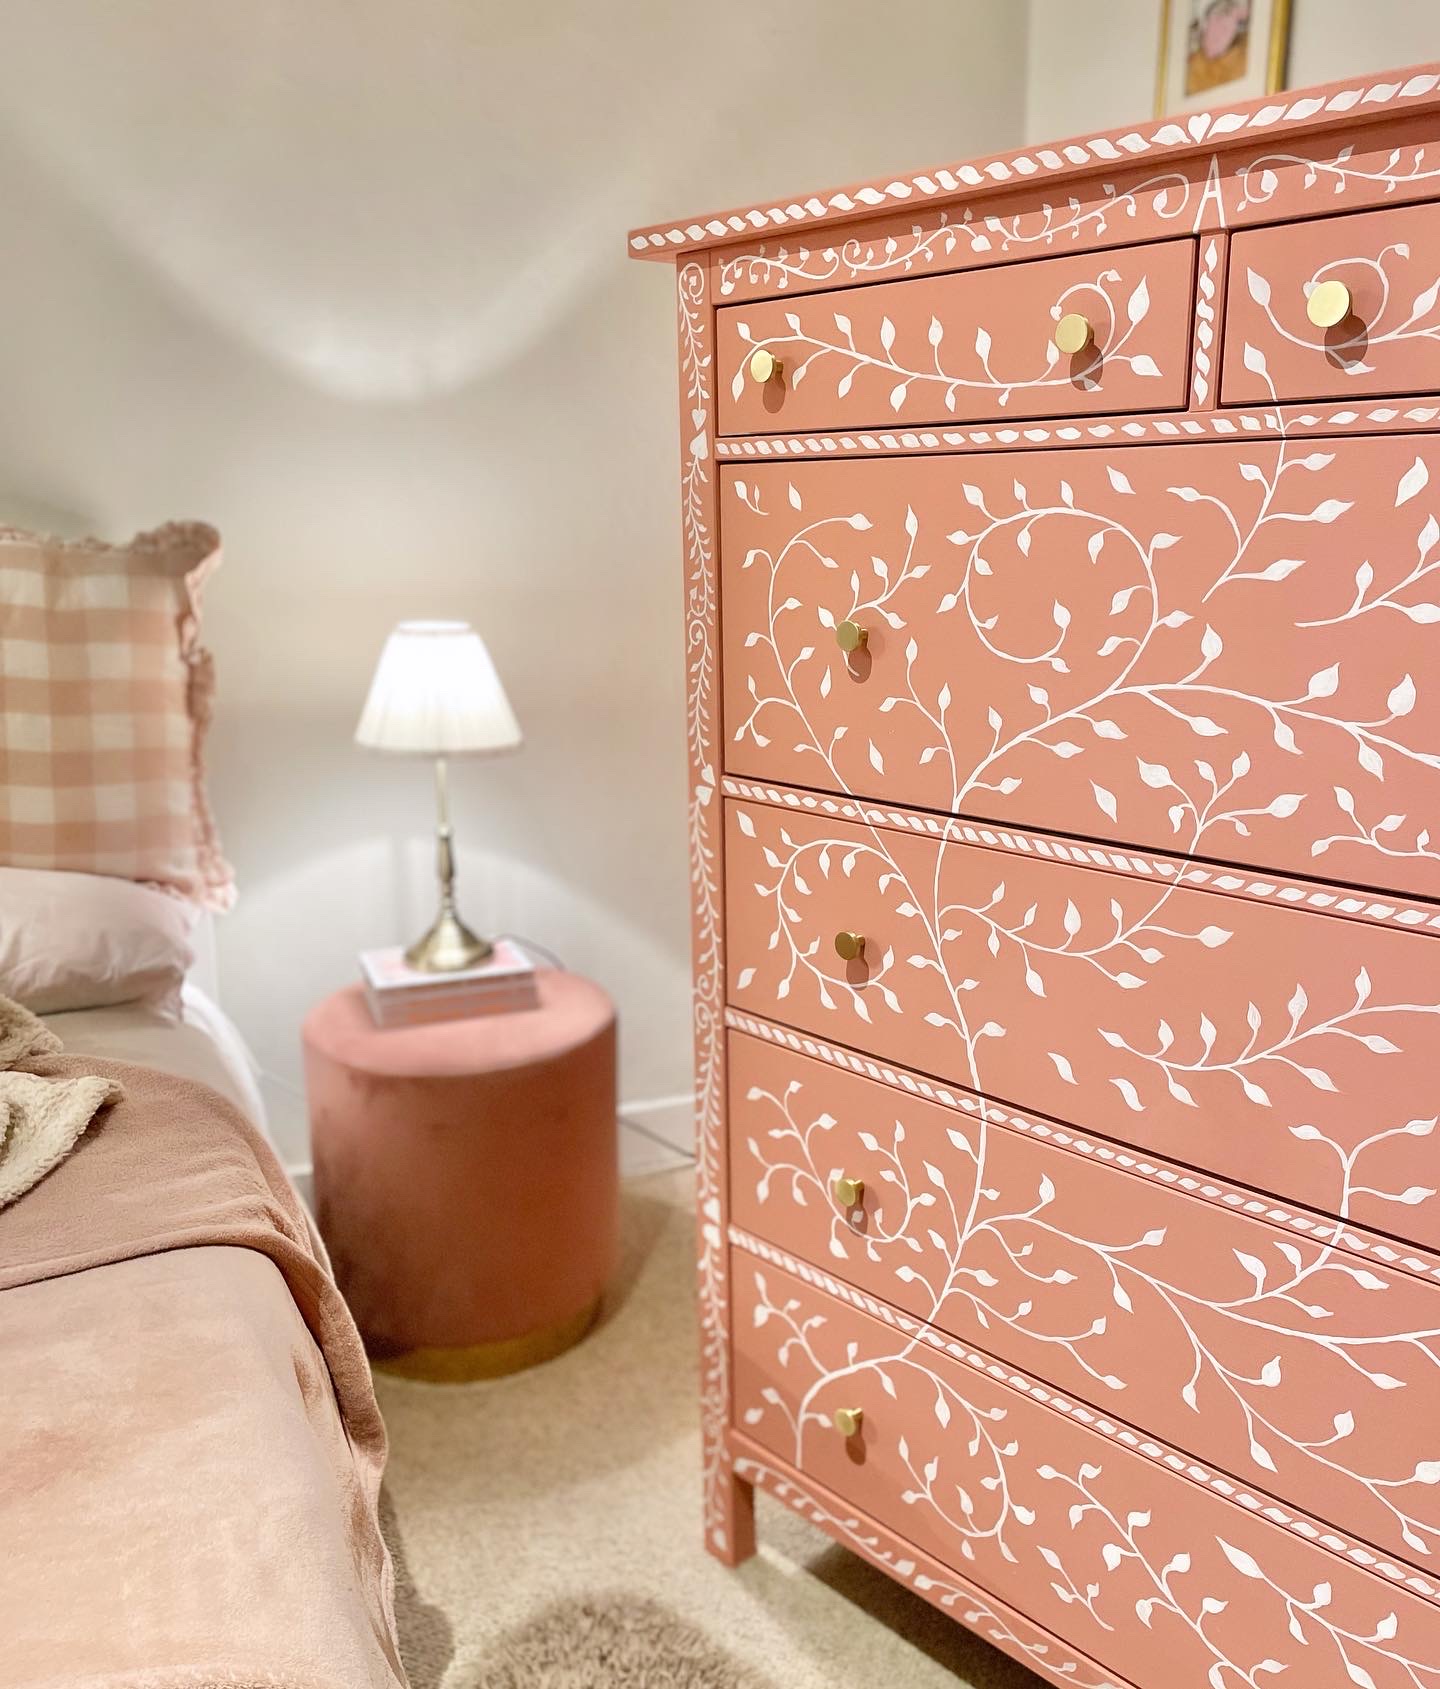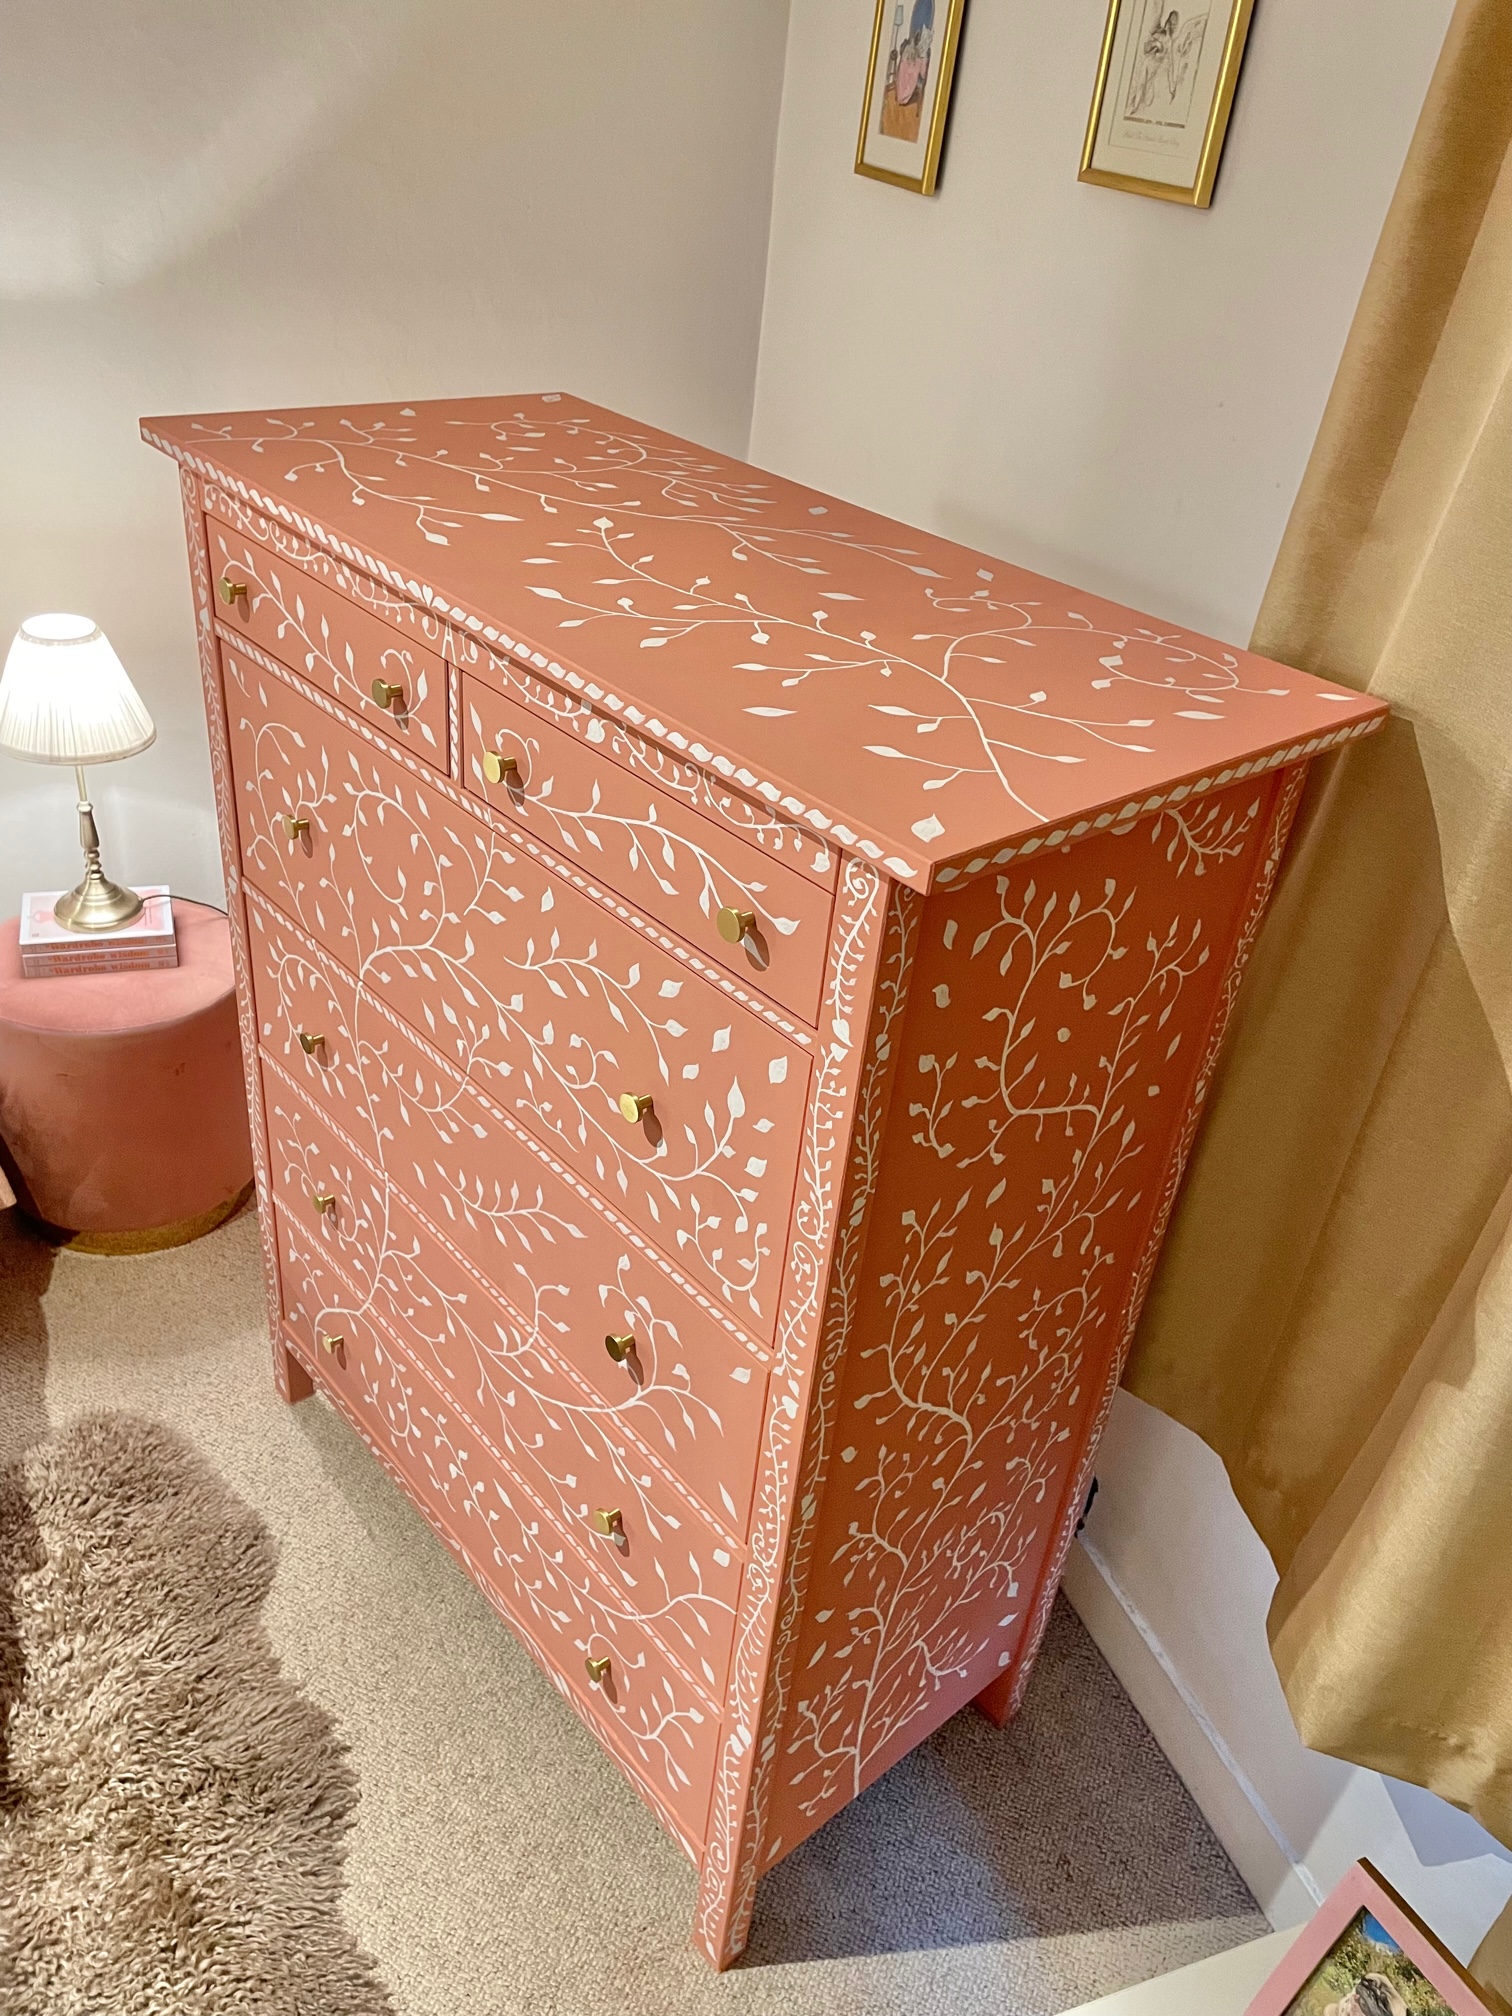
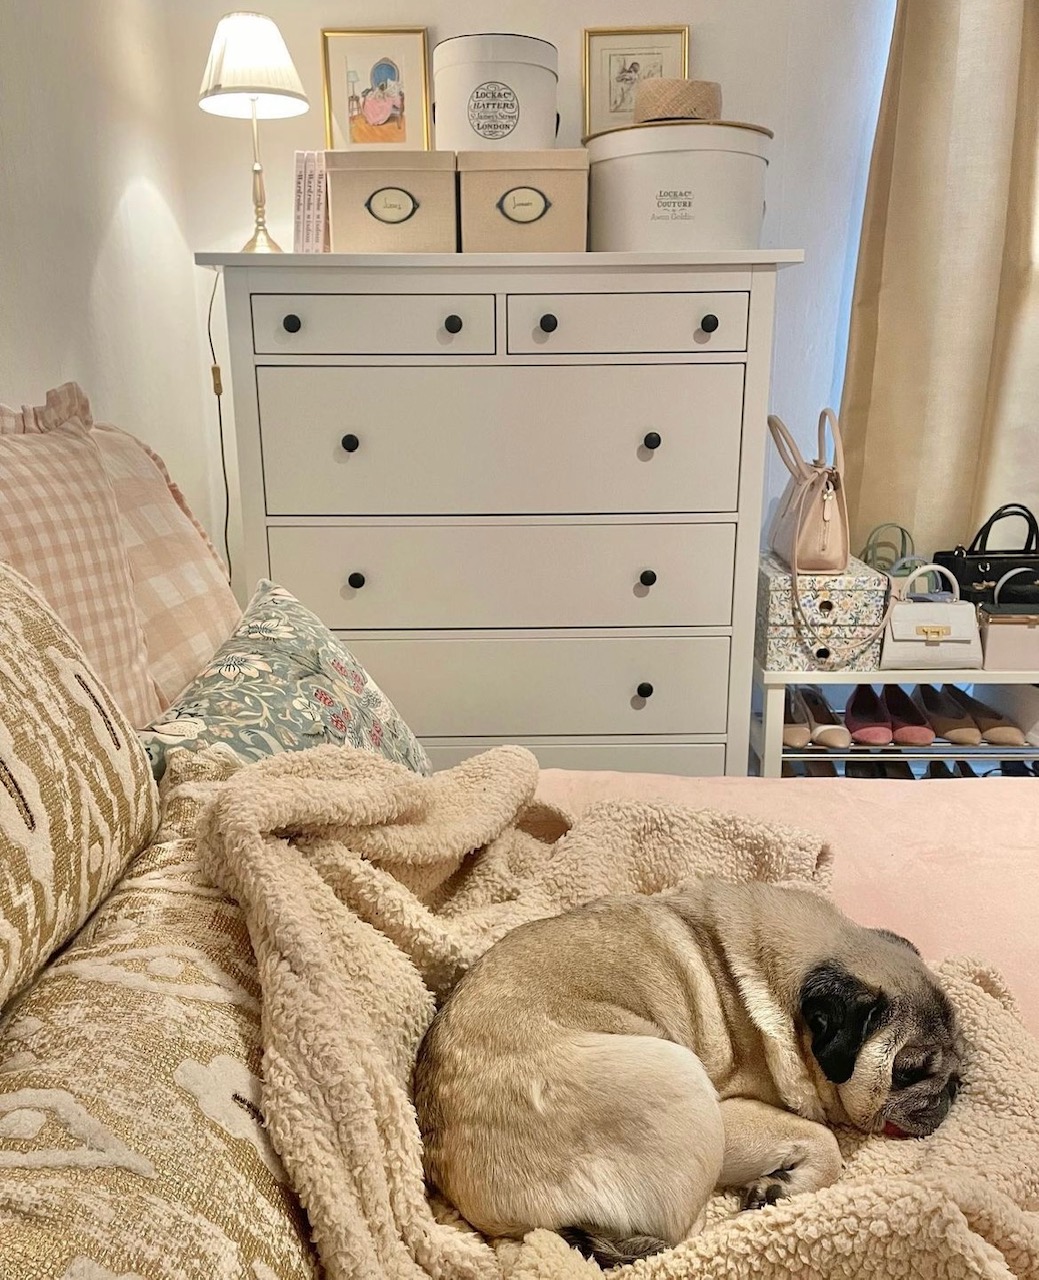

I bought this chest of drawers about five years ago when I moved back to the UK after four years of living abroad. The only “furniture” I brought with me was a bed for my pug Dorothy so I had to find affordable storage solutions quickly! Enter Ikea of course – I liked the capacity of their Hemnes chest of drawers – it has four large drawers and two smaller ones at the top so there’s loads of room for storing folded garments. I wasn’t so keen on the black drawer knobs so recently changed them to gold ones (a task that took me five years to get round to doing!) If you aren’t handy with a paintbrush then stop reading now and just switch up your drawer knobs – a really cheap and easy hack to upgrade the look of a dresser and hide the Ikea-ness of it 😉


I recently watched the film Maudie starring Sally Hawkins as the Canadian folk artist Maud Lewis. Maud painted cheerful colourful scenes on every surface in her tiny house. I don’t think my landlord would be too impressed if I did the same but I was inspired by how she used her creativity to bring life to her humble home. It made me want to be a bit more adventurous with the makeover of my chest of drawers. I’ve always loved the look of bone inlay furniture like this one from Oliver Bonas so also used this as my inspiration to upgrade my Ikea dresser in paint.
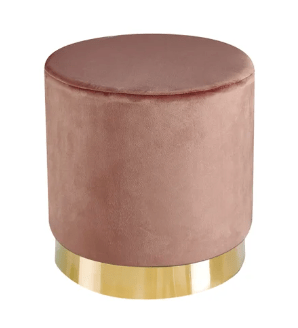
Inspiration:


What I used:
- Annie Sloan Chalk Paint – Scandinavian Pink
- Annie Sloan Chalk Paint – Old White
- 1 and 2 inch brushes
- Large brush
- Detail paint brush (I used a size 3 round brush for most of the detail work)
- White pastel pencil
- Chalk Paint Lacquer (clear matt)
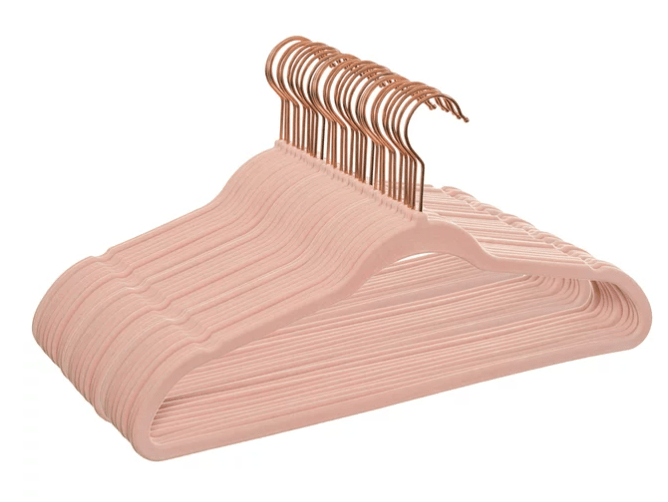
- Gold drawer knobs


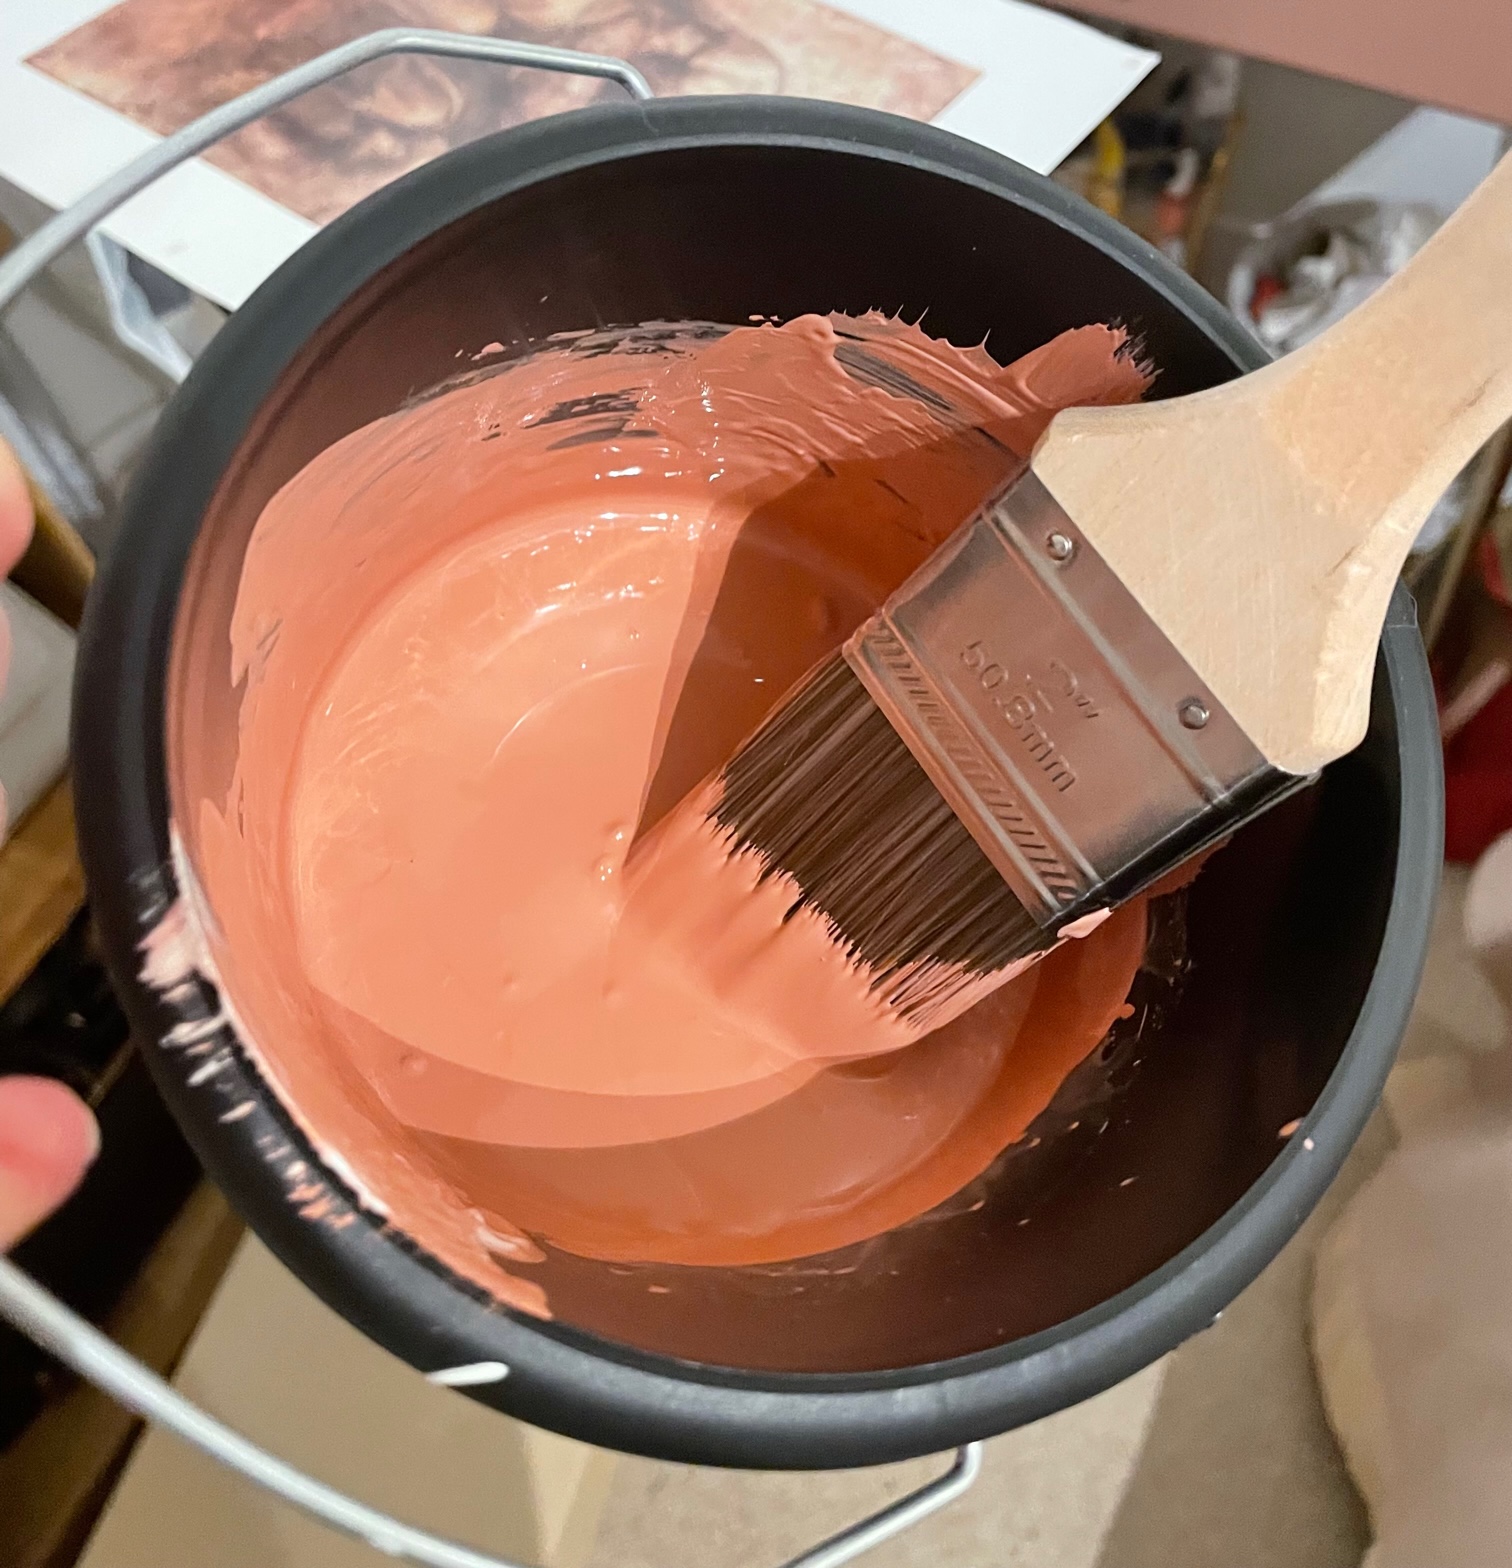
I picked Scandinavian Pink chalk paint from Annie Sloan as the base colour – a lovely warm shade of salmon pink. I lightened it slightly with Old White (I’d say 3 parts pink / 1 part white) as I wanted it to match the decor in my bedroom which is a lighter blush pink. Chalk paint doesn’t require the furniture to be prepped (sanded and primed) so I just cleaned it prior to painting. I used a two inch brush for most of the base and a one inch brush for the smaller areas.


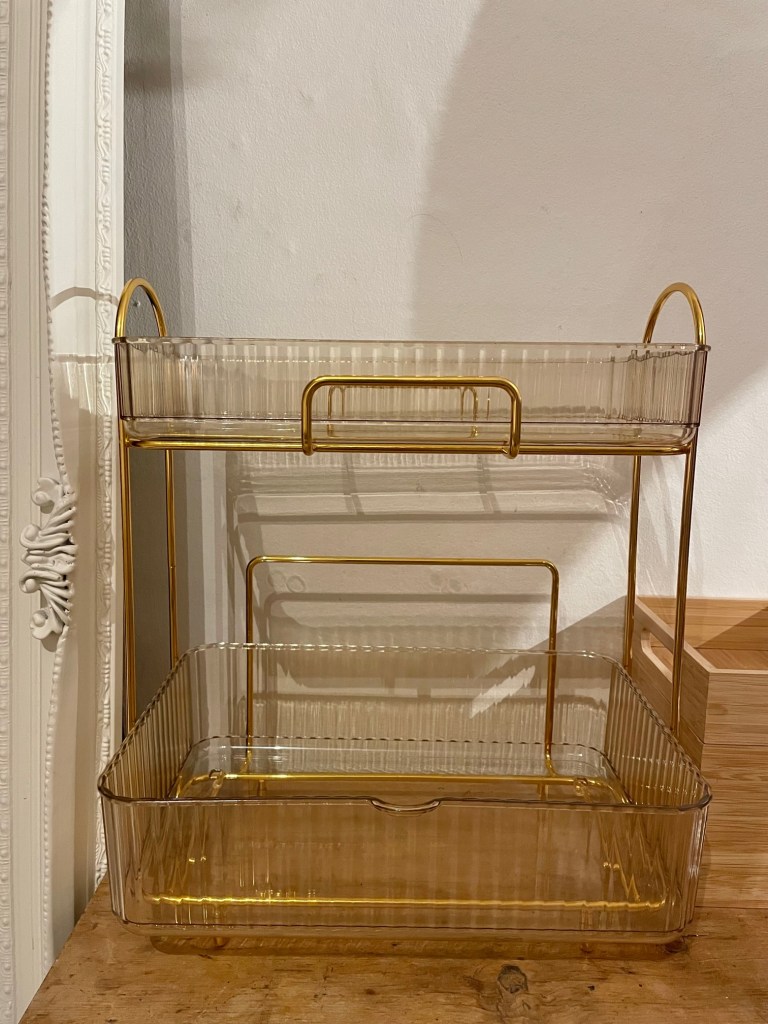
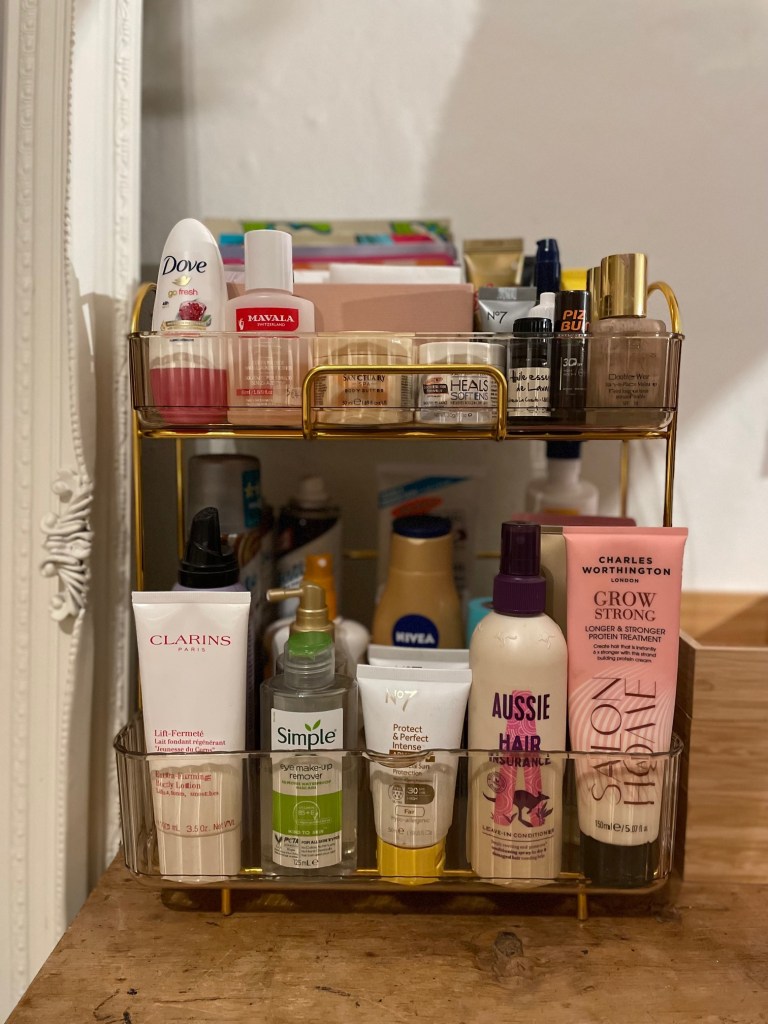
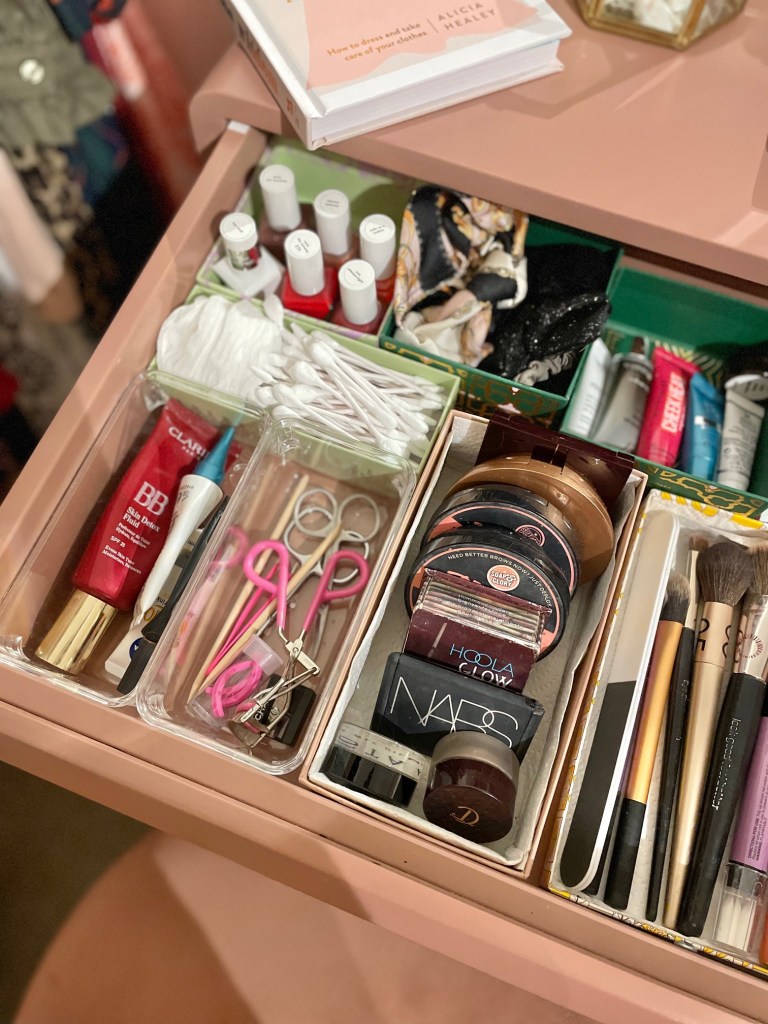
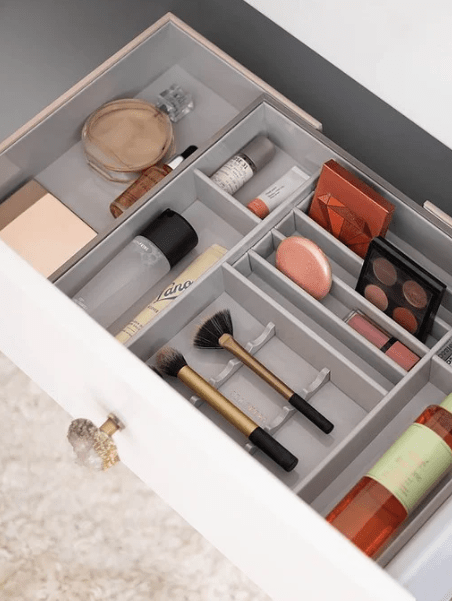
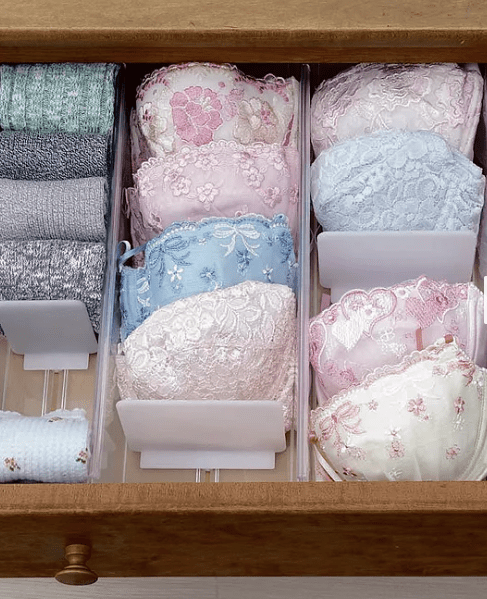
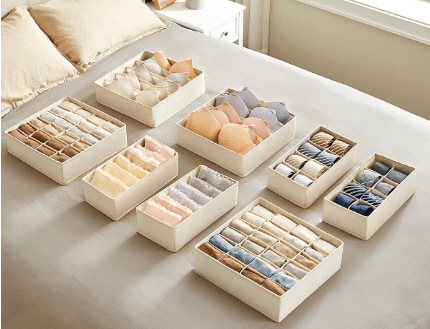
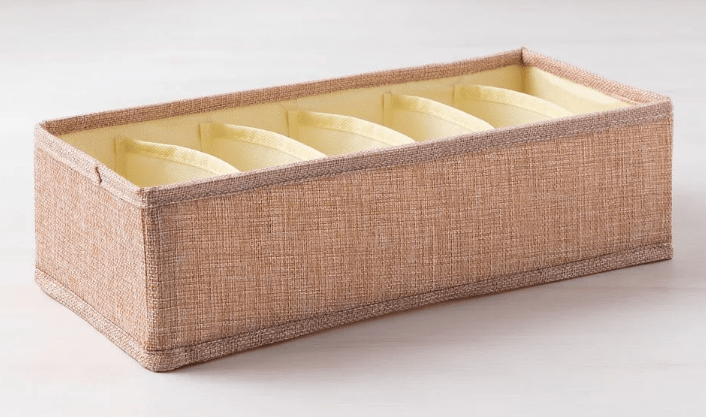
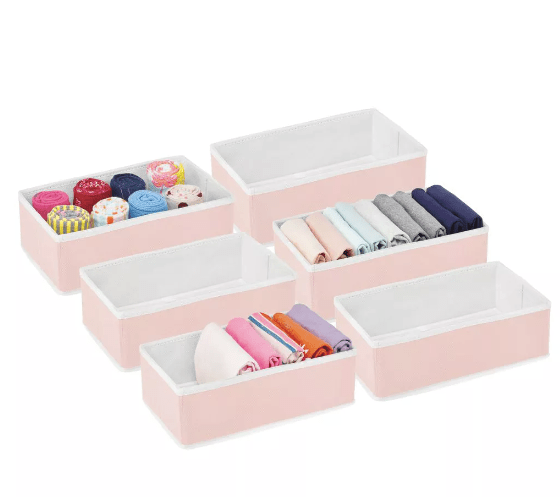
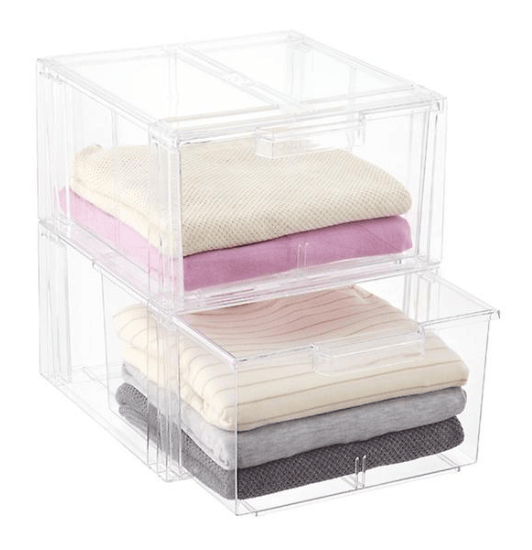
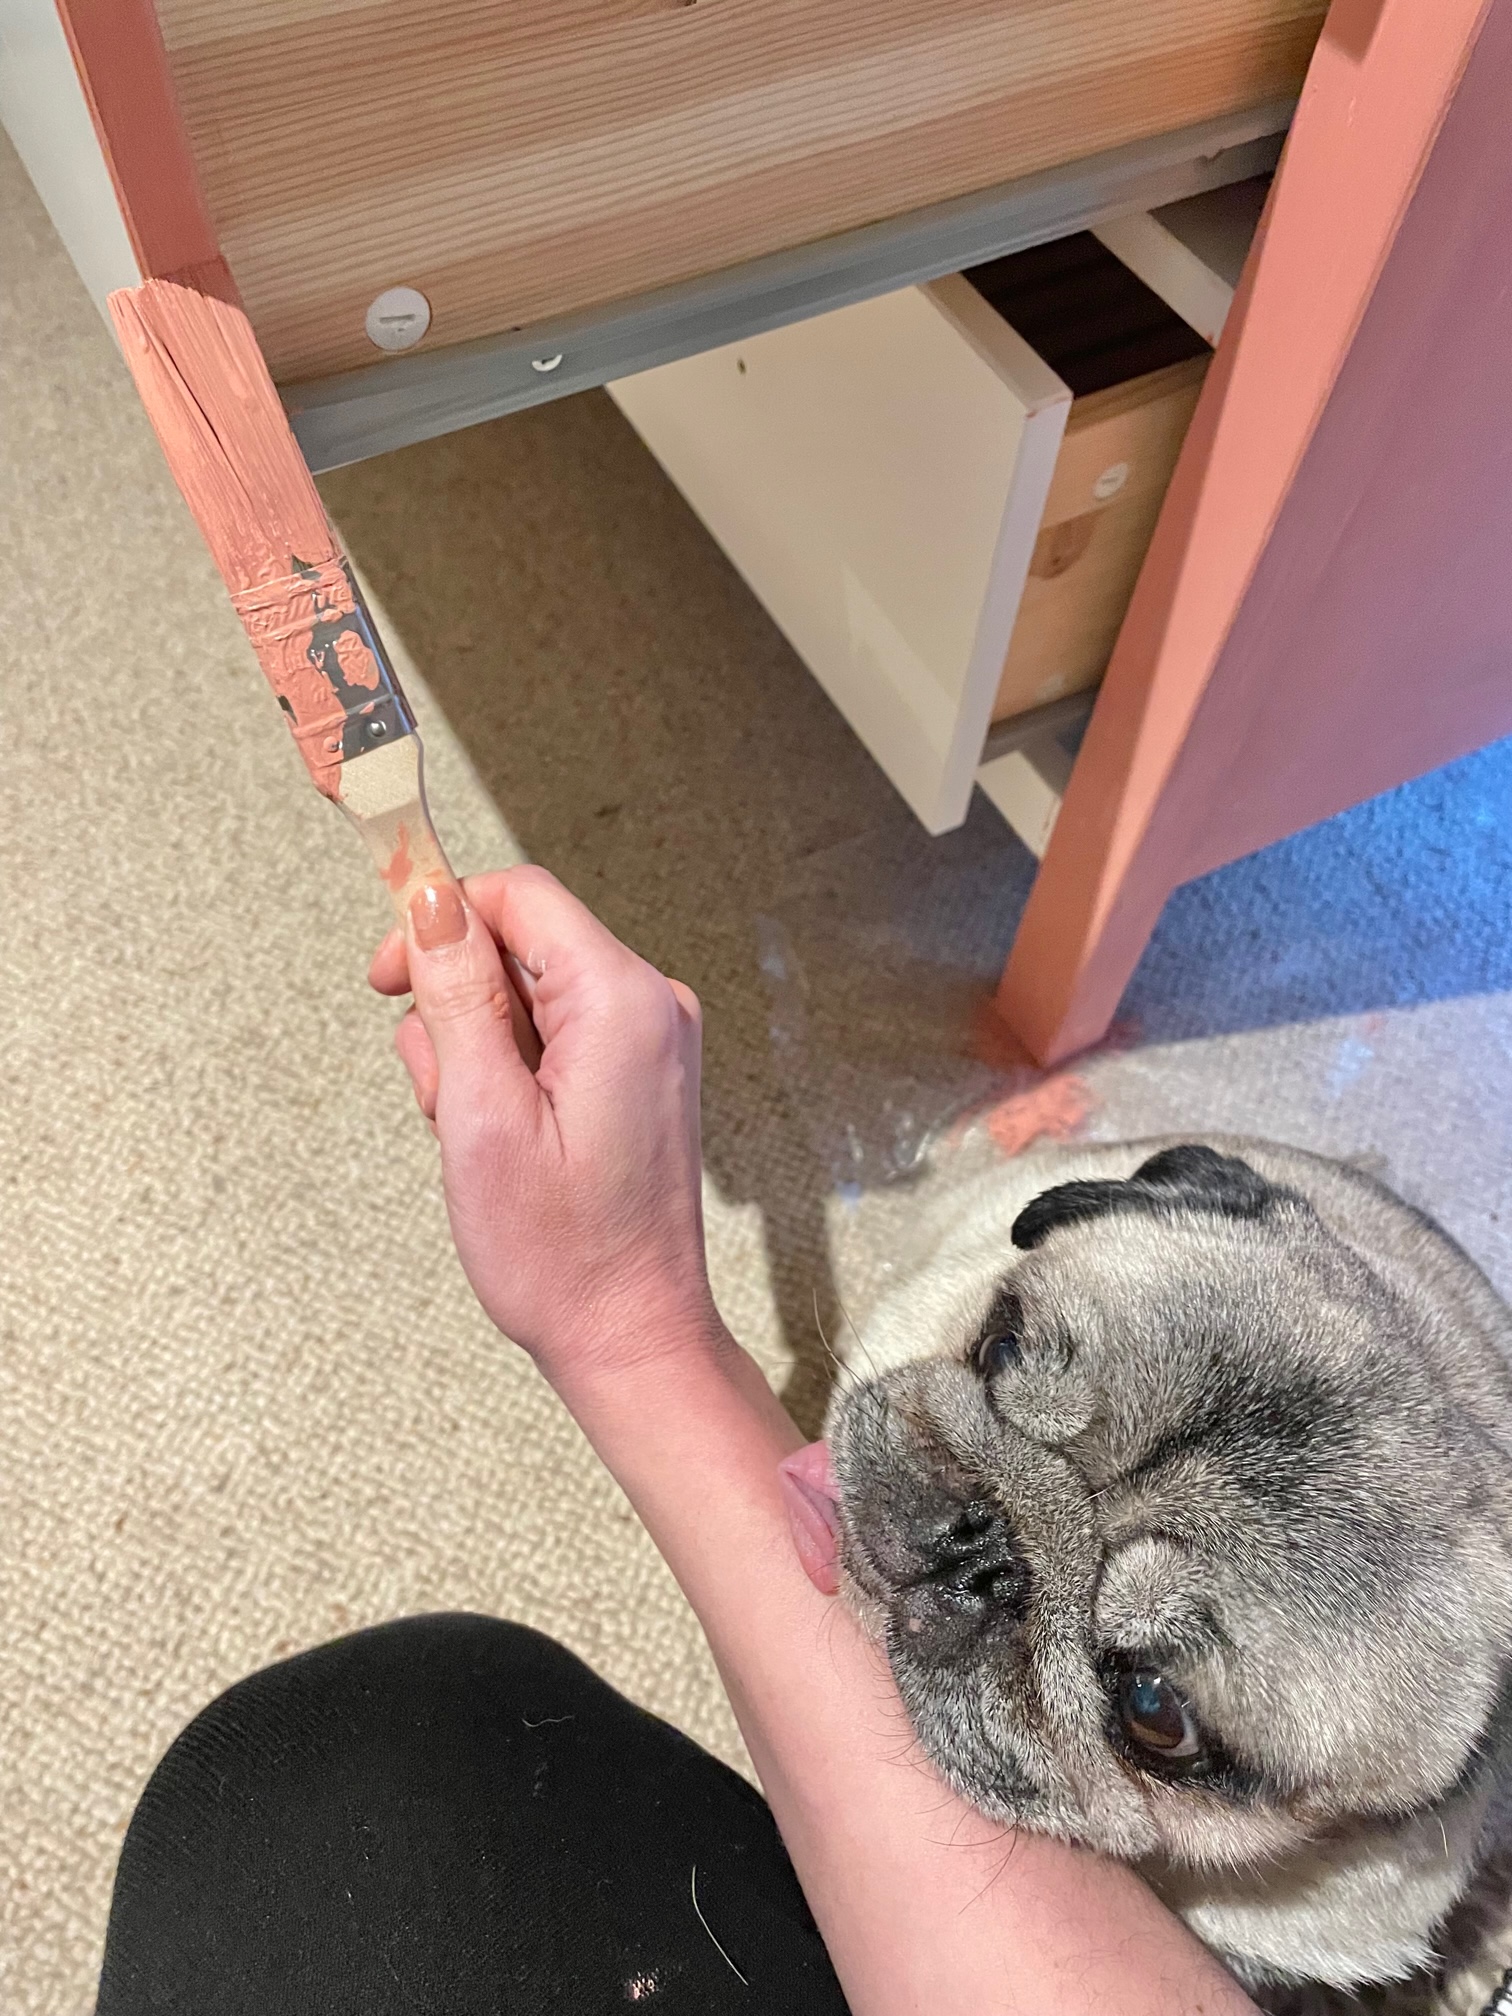
In hindsight it would be better to remove the drawers to paint the base layer – I kept them in which made the painting of the edges trickier as they are sliding drawers! But I didn’t have enough floor space for six drawers so just went with it. (Top Tip: Emptying the drawers will be a lot easier if you have organised them with drawer organisers – see my other blog post Storage Solutions for more tips on this. If you have an Ikea dresser they have drawer organisers that fit the proportions of their drawers exactly).
Also I wouldn’t recommend having a dog around whilst doing this but mine is glued to me so it’s unavoidable! She even rested her chin on my arm whilst I was painting – bless her heart!
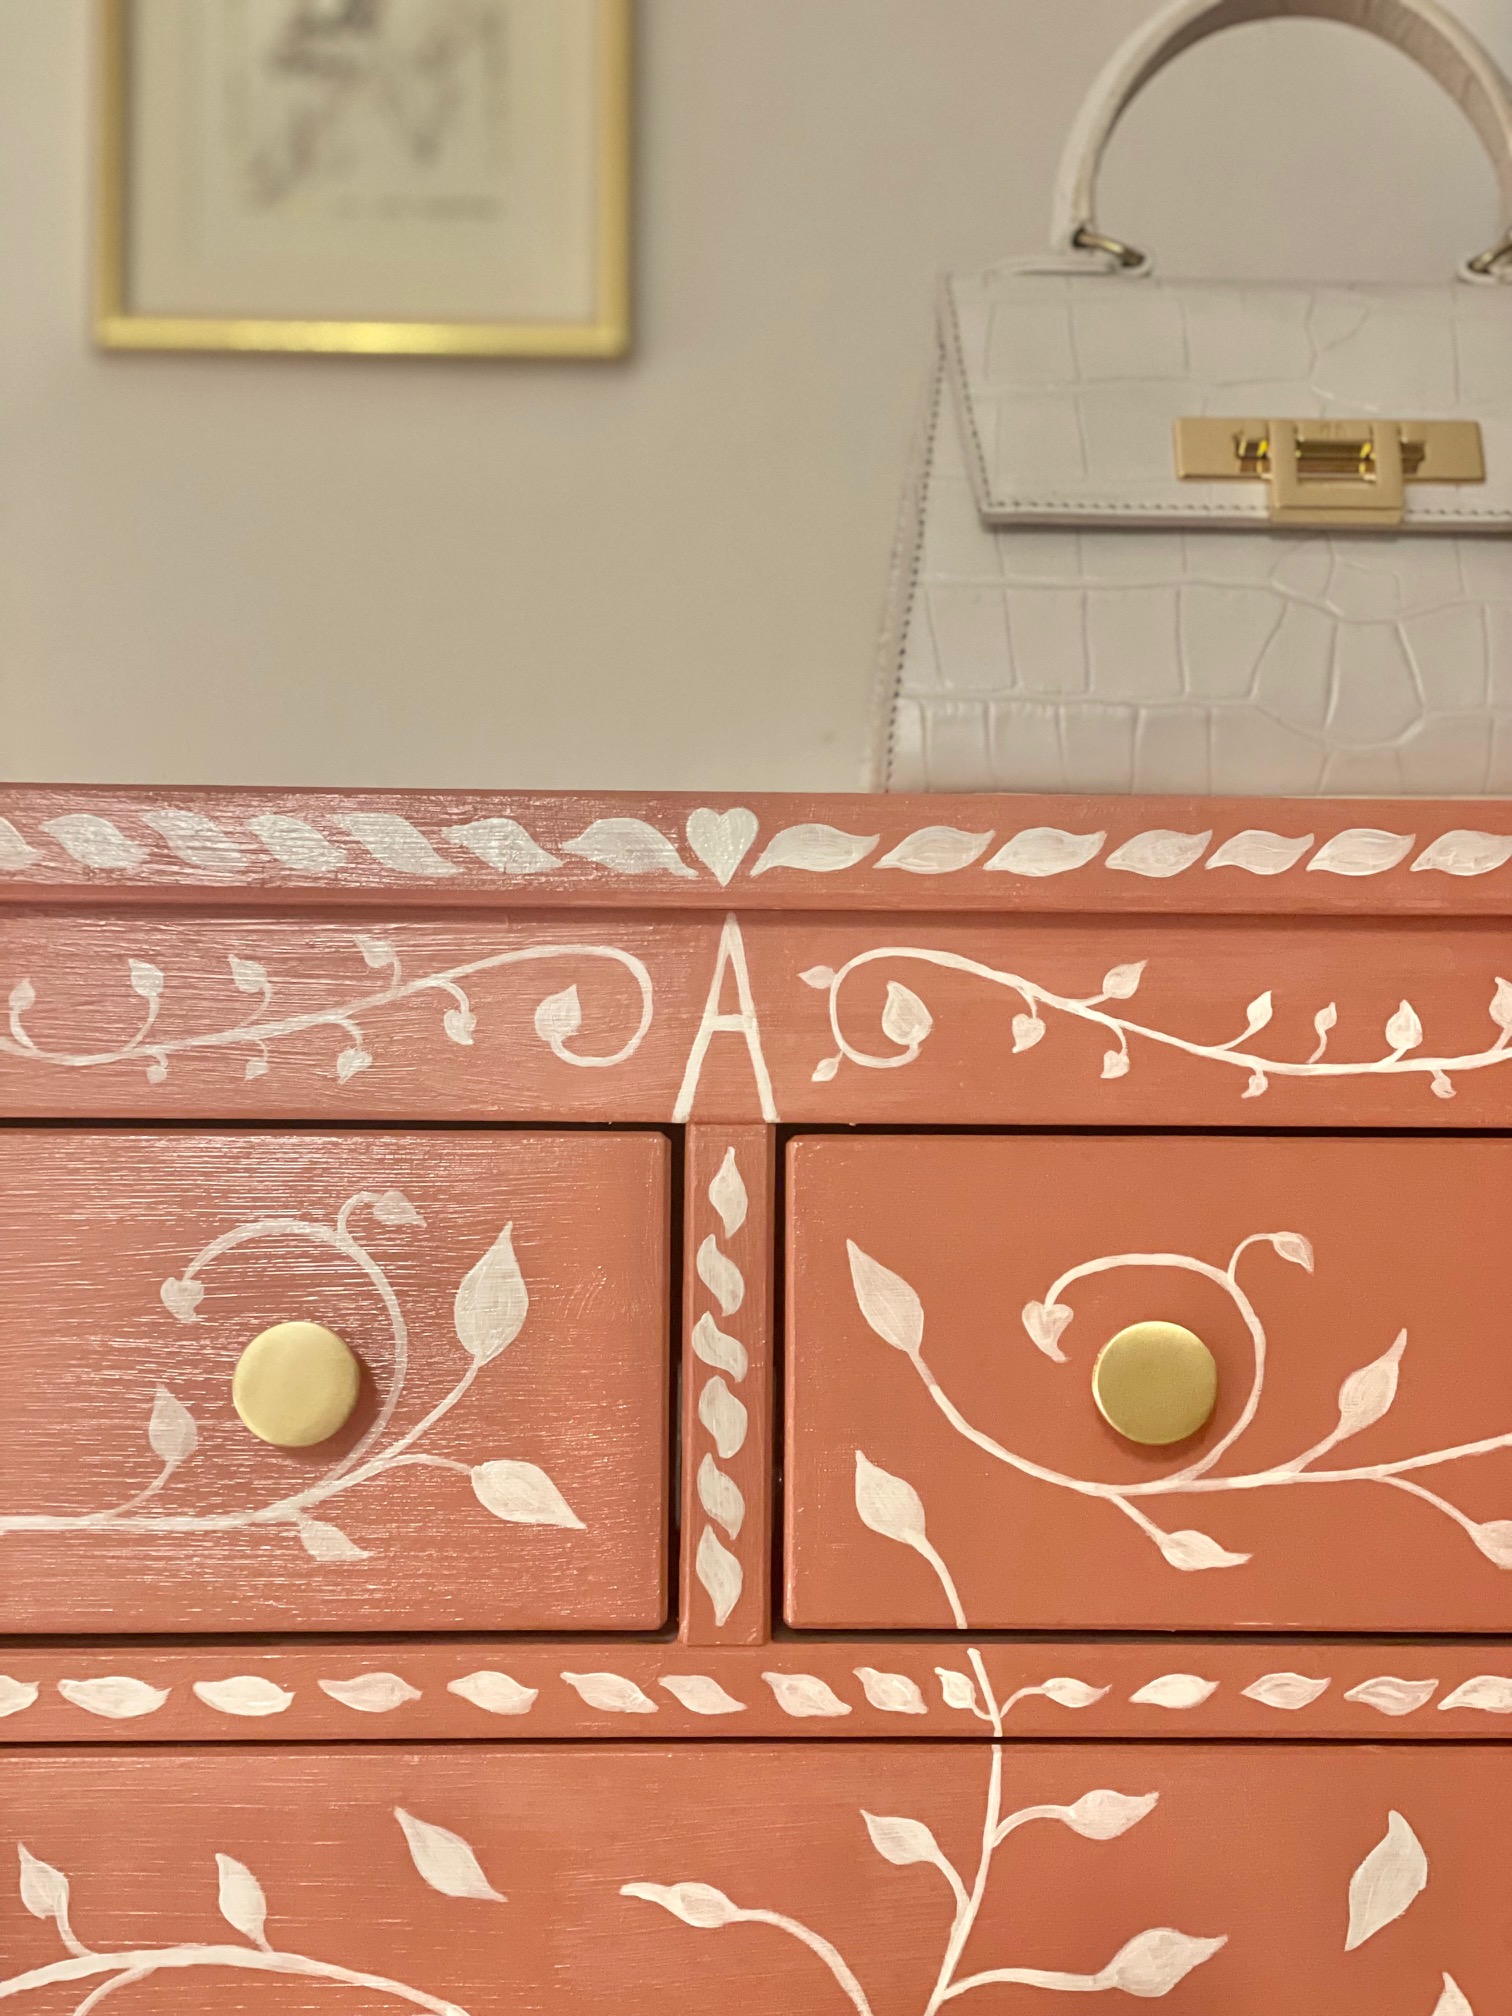
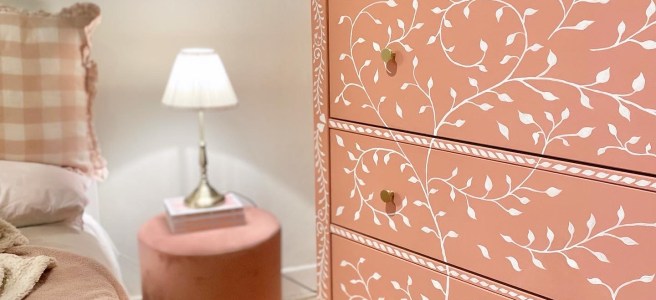
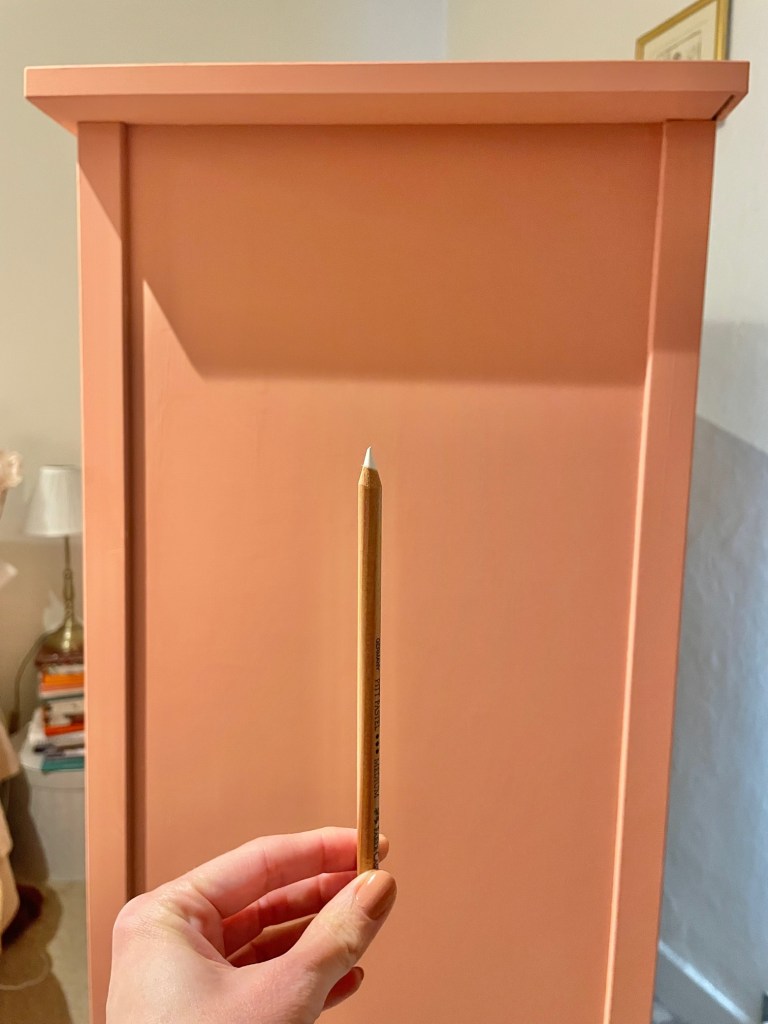
After applying two coats of the pink paint (waiting a couple of hours between coats) I then mapped out my design with a white pastel pencil. I worked out roughly what I wanted to draw on paper first as a guide. (If you make a mistake on the dresser you can rub out the pastel with a putty rubber).


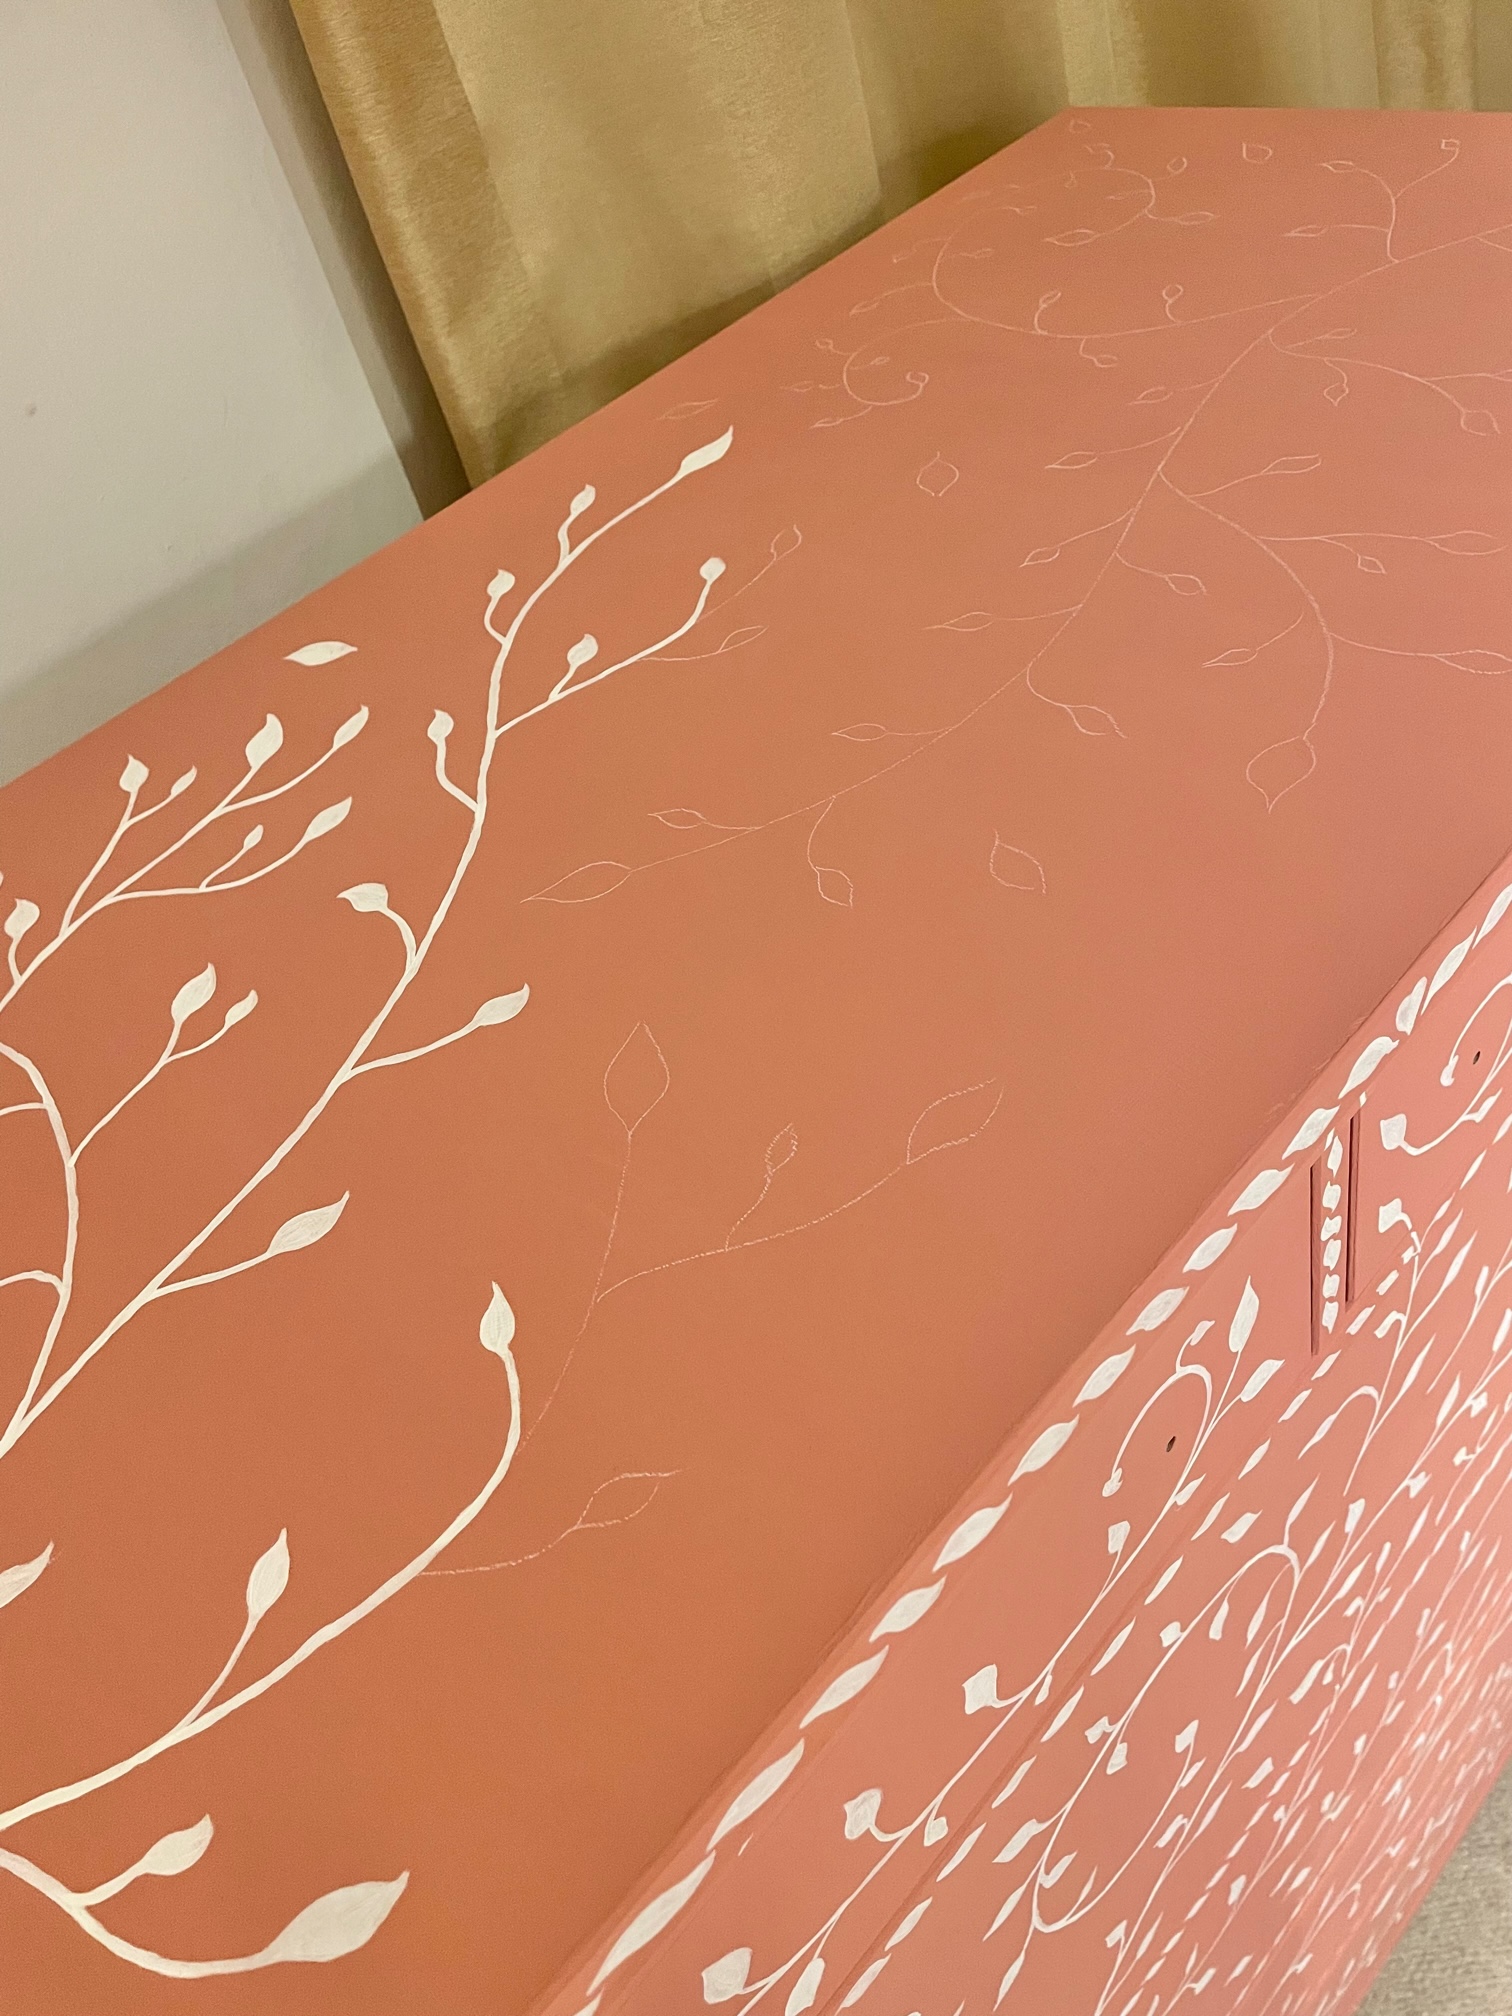
Now for the fun part – painting in the detail. This part was quite time consuming but I found it quite therapeutic painting the leaf motif repeatedly and because it was quite an organic design I could make changes along the way and not stick too rigidly to a plan. I think a geometric design would be.a lot trickier to paint. Having said that, by the second day of painting leaves I was starting to wish I had a smaller dresser! If your hand isn’t so steady you could use stencils for this stage. For the detail I used Old White chalk paint and painted most of it with a round watercolour brush (Size 3). The top of the dresser was the hardest bit to paint as it’s quite a tall dresser and I don’t have a step ladder so most of this was done on tip toe!

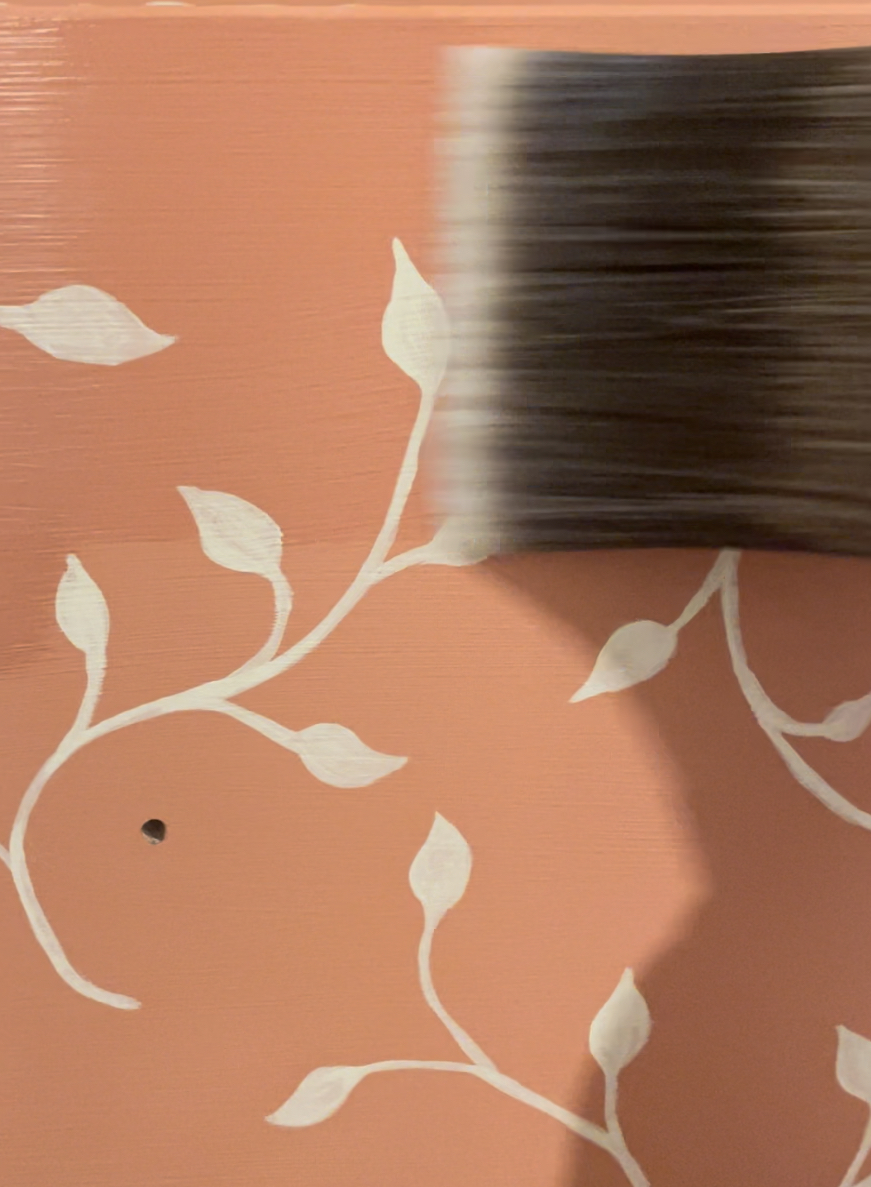
Once all the detail was done I left it to dry overnight before applying two coats of chalk paint laquer to seal the paint. This bit I found quite stressful as you can easily introduce dust or stray dog hairs into it to be trapped forever! Make sure it’s dust free before you start and keep needy pups away! I used a three inch brush to cover as much ground as quickly as possible, and a flat watercolour brush for the narrow parts of the dresser. Watch closely as you go for air bubbles/drips of varnish/dog hair and smooth these out with a soft brush.

Leave the varnish to dry overnight before replacing the drawers and adding your fancy drawer knobs of choice.


Et voila – dresser upgraded for less than £50!